A saddle that is only a few millimetres too high or low can waste power on every pedal stroke. It can also turn a strong ride into sore knees, a tight lower back or unwanted pressure on the hands. Learning how to set saddle height is one of the highest-value adjustments you can make, whether you are building a new race bike or refining the fit of the bike already in your garage.
For performance riders, saddle height is not about chasing a single magic number. It is about creating efficient leg extension while keeping the pelvis stable and the bike easy to control. The right position should feel powerful over long road miles, controlled on technical trails and sustainable when you are deep into the run-up to a triathlon or time trial.
How to set saddle height: start with a baseline
Put the bike on a level surface, ideally in a turbo trainer or held securely by another person. Wear your normal cycling shoes and pedals. Stack height varies between shoes, cleats and pedal systems, so measuring in trainers or barefoot will only give you a rough starting point.
A reliable first method is the heel test. Sit on the saddle with your hips level and place one heel on the pedal at its lowest point, or six o’clock. Your leg should be straight without you having to tilt your hips or stretch towards the pedal. When you then place the ball of your foot over the pedal axle in your usual pedalling position, this normally leaves a slight bend at the knee at the bottom of the stroke.
It is a practical baseline, not a final verdict. Your flexibility, crank length, riding discipline and saddle shape all influence the position that works best. Still, it gets most riders close enough to assess the fit properly on the road.
Use inseam measurements carefully
If you are setting up a new bike and need a numerical starting point, measure your cycling inseam from the floor to the pubic bone while standing barefoot against a wall. Multiply that figure by 0.883. The result is a traditional guide for the distance from the centre of the bottom bracket to the top of the saddle, measured along the seat tube line.
For example, an 84 cm inseam produces a starting height of around 74.2 cm. This can be useful when comparing frame sizes or transferring your position to another bike, but do not treat it as a prescription. The calculation does not account for your cleat position, foot shape, mobility or how aggressively you ride.
Find the right amount of knee bend
At the bottom of the pedal stroke, most riders perform well with a modest knee bend rather than a locked-out leg. Bike fit systems often use a knee angle range of roughly 25 to 35 degrees, measured with the foot in its natural pedalling position. Reaching this range accurately requires a video assessment or fit session, but the principle is simple: your leg needs room to produce force without reaching for the pedal.
Watch for pelvic movement first. If your hips rock side to side when you pedal, the saddle is often too high. You may feel yourself stretching at the bottom of each stroke, pointing your toes excessively, or sliding forward on the saddle to find a more comfortable position. A high saddle can also cause tightness behind the knee, hamstring irritation and overworked calves.
A saddle that is too low brings different problems. Your knees stay overly bent at the bottom of the stroke, and sustained efforts can feel restricted rather than fluid. Riders commonly report pain at the front of the knee, burning quadriceps on moderate climbs and a feeling that they cannot get full leverage through the pedals. The bike may feel comfortable for a short spin, but inefficient over a long event.
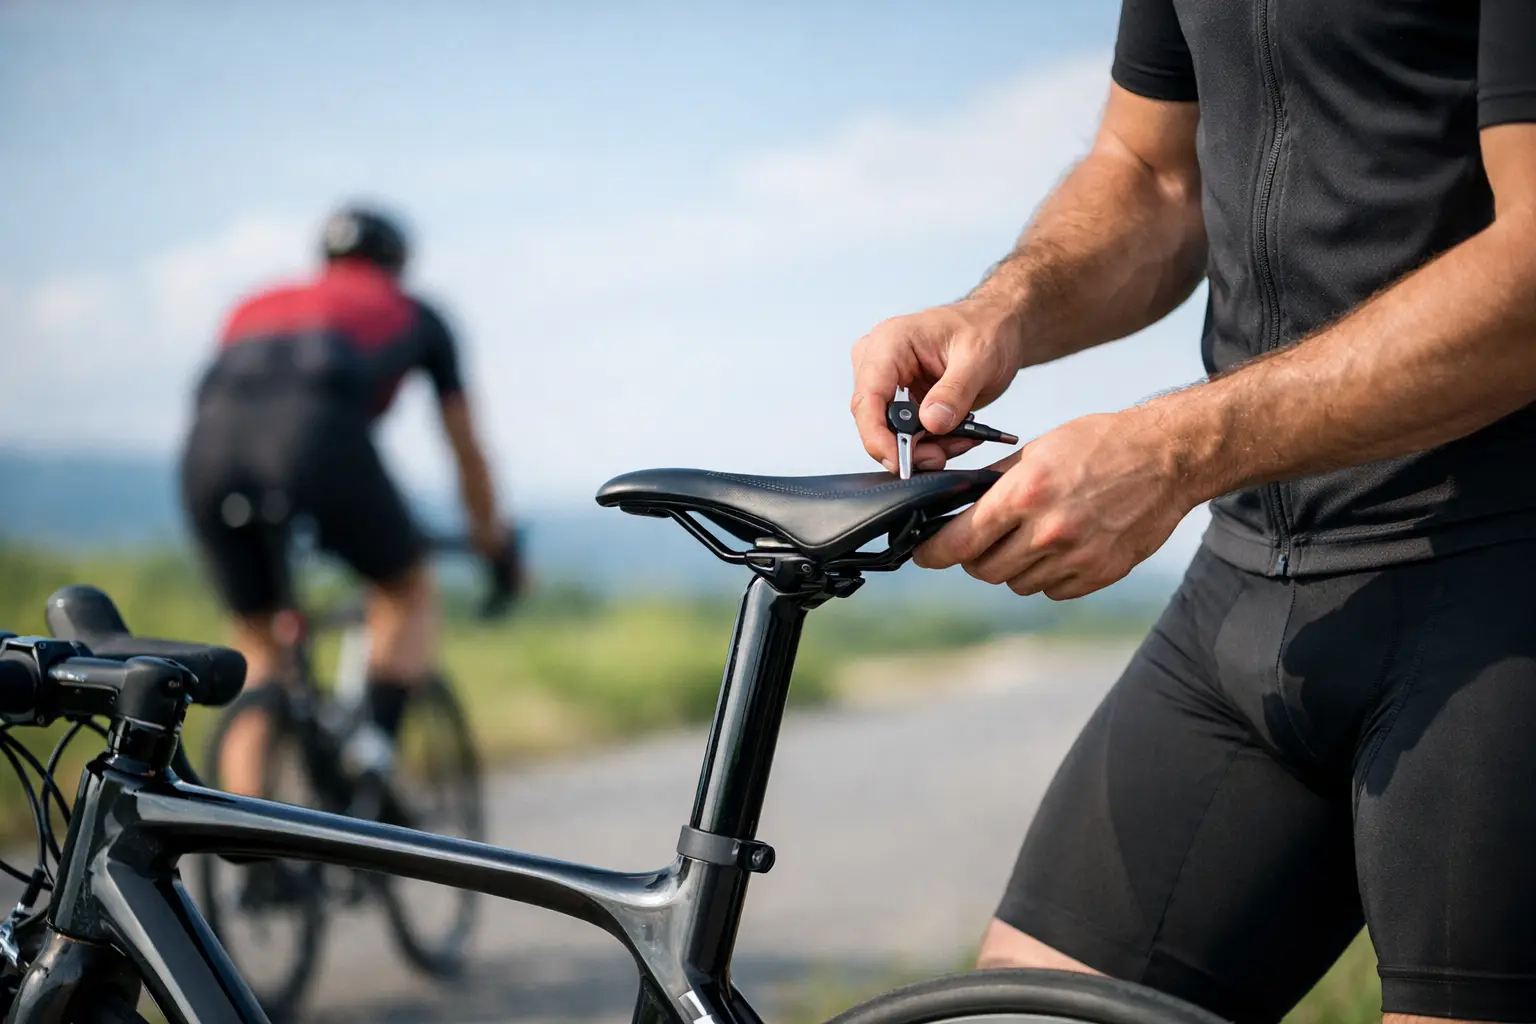
Make changes in small increments. Start with 3 to 5 mm, ride several times, then reassess. A 10 mm adjustment is substantial and can make it difficult to identify what improved or worsened the fit. Mark the original saddle position with a small piece of tape or take a measurement before moving anything.
Saddle height depends on how and where you ride
Road riders usually want a stable, efficient position that works seated at endurance pace and under harder efforts. A position that feels excellent for a five-minute climb is not necessarily the right choice for four hours in the saddle. Test it on the terrain and duration that reflect your normal riding.
For triathlon and TT bikes, saddle height must work with the forward hip position created by aero bars. Moving the saddle forwards opens the hip angle but can alter the effective reach to the pedals. Some athletes require a slightly different height on their TT bike than on their road bike, particularly when they spend long periods in the aero position. Stability matters as much as peak power: if your hips rock while you are tucked low, the position will cost comfort and speed.
Mountain bikers often run a touch lower than their road position, especially on technical terrain. A marginally lower saddle can improve control when the dropper post is up and make repeated position changes feel less restrictive. That said, lowering it too far sacrifices climbing efficiency. Gravel riders sit between the two worlds. Long-distance comfort remains vital, but rough surfaces may favour a slightly more forgiving setup than a pure road race position.
Crank length also matters. If you move from 172.5 mm cranks to 165 mm cranks, your foot travels a smaller circle. Your saddle may need to rise slightly to maintain similar extension at the bottom of the stroke. Conversely, longer cranks can require a small reduction in saddle height. Change one fit variable at a time wherever possible.
Do not ignore saddle fore-aft and tilt
Height is only one part of the contact-point equation. A saddle that is too far back can make you reach for the pedals, while one that is too far forwards can overload the hands and place too much weight on the front of the bike. Riders sometimes lower the saddle to solve a reach problem, then create a new issue with knee extension.
Start by setting saddle height, then assess fore-aft position and handlebar reach. If you are constantly pushing yourself back on the saddle, check whether the nose is tilted too far down or whether the saddle is too far forwards. If you feel pulled towards the bars, the reach or bar drop may be contributing just as much as the saddle.
Saddle tilt should usually be close to level when measured across the main sitting area, not necessarily from the very tip to the tail. Many modern short-nose saddles have a deliberately shaped profile, so a spirit level alone can mislead. A small downward adjustment at the nose may relieve pressure in an aggressive road or aero position, but too much tilt makes you slide forwards and loads the arms, shoulders and hands.
Test your position under real effort
A gentle spin around the block will not reveal every fit issue. Once your baseline is set, ride for at least an hour and include steady seated climbing, endurance pace and a few harder efforts. Notice whether you remain planted on the saddle, whether your pedal stroke stays smooth, and whether discomfort appears during or after the ride.
Pay attention to patterns rather than one isolated sensation. Front-of-knee pain can suggest a low saddle, while pain behind the knee may point to a high saddle, but both can have other causes. Cleat placement, training load, old injuries and saddle width all affect the outcome. Persistent pain deserves professional advice, particularly if it alters your pedalling technique.
A side-on video can be extremely useful. Film yourself riding on a trainer at normal cadence, then look for hip rocking, excessive toe pointing and a knee that remains very bent at the bottom of the stroke. It is not a replacement for a full bike fit, but it gives you better evidence than relying on static photos.
When a professional bike fit is worth it
If you are investing in a premium road, triathlon or TT bike, a professional fit gives you a more dependable route to performance and comfort. It is especially valuable if you are between frame sizes, returning from injury, changing disciplines or preparing for a key race. A fitter can assess mobility, cleat setup, saddle support, crank length and cockpit position together rather than treating saddle height in isolation.
Even after a professional fit, expect refinement. Fitness changes, new shoes, different saddles and longer events can all justify a small adjustment. Keep a record of your measurements from the centre of the bottom bracket to the saddle top, plus your saddle setback and tilt. It makes rebuilding your position after travel, servicing or a new frame far easier.
The best saddle height is the one that lets you produce repeatable power without fighting the bike. Start with a sound baseline, adjust in millimetres, and let real riding guide the final position. If you are fitting out a new performance build, the specialist team at Trifit Bikes can help you begin with the confidence that the bike beneath you is ready to match your ambition.