A triathlon bike can look perfect on paper, arrive with an elite groupset and deep-section wheels, then cost you speed because the cockpit will not put you in a position you can actually hold. That is why getting a tri bike fit before buying is not an optional extra for serious riders. It is the best way to make sure the frame, front end and adjustment range work for your body and your race goals.
Tri bikes are built around aerodynamics, but the fastest position is never simply the lowest one. It is the position that lets you produce power, breathe freely, steer confidently and stay composed for the duration of your event. Whether you are moving up from a road bike or replacing a proven TT machine, fit should lead the purchase – not the paintwork, discount or headline specification.
What a tri bike fit before buying should establish
A pre-purchase fit is about finding your target riding position first, then identifying the bikes that can achieve it. This is different from buying a frame in the size that sounds familiar. A medium from one brand can be substantially longer, lower or more restrictive at the front end than a medium from another.
The key outputs are usually saddle height, saddle setback or forward position, pad stack, pad reach, extension length and the relationship between your hands, elbows and shoulders. Together, these figures describe the working position you need rather than just your overall height or inseam.
For triathlon, the aim is generally to create a sustainable aero position that protects your running legs. You may sit further forward than you would on a road bike, opening the hip angle while keeping your torso low. But there is no universal “aggressive” position that suits every athlete. Your flexibility, injury history, core stability, event distance and ability to maintain power all matter.
A rider preparing for a sprint or Olympic-distance race may tolerate a more compact, lower front end than someone targeting a full-distance event. Equally, a seasoned time trial rider may prioritise a narrow, low frontal area, while a triathlete needs enough stability and comfort to fuel, drink and run well afterwards.
Start with your position, not your old frame size
Using the size of your road bike as a starting point is understandable, but it can lead you in the wrong direction. Road bike sizing is influenced by how you ride on the hoods and drops, whereas a tri bike is defined by where you sit relative to the bottom bracket and where your forearms rest on the pads.
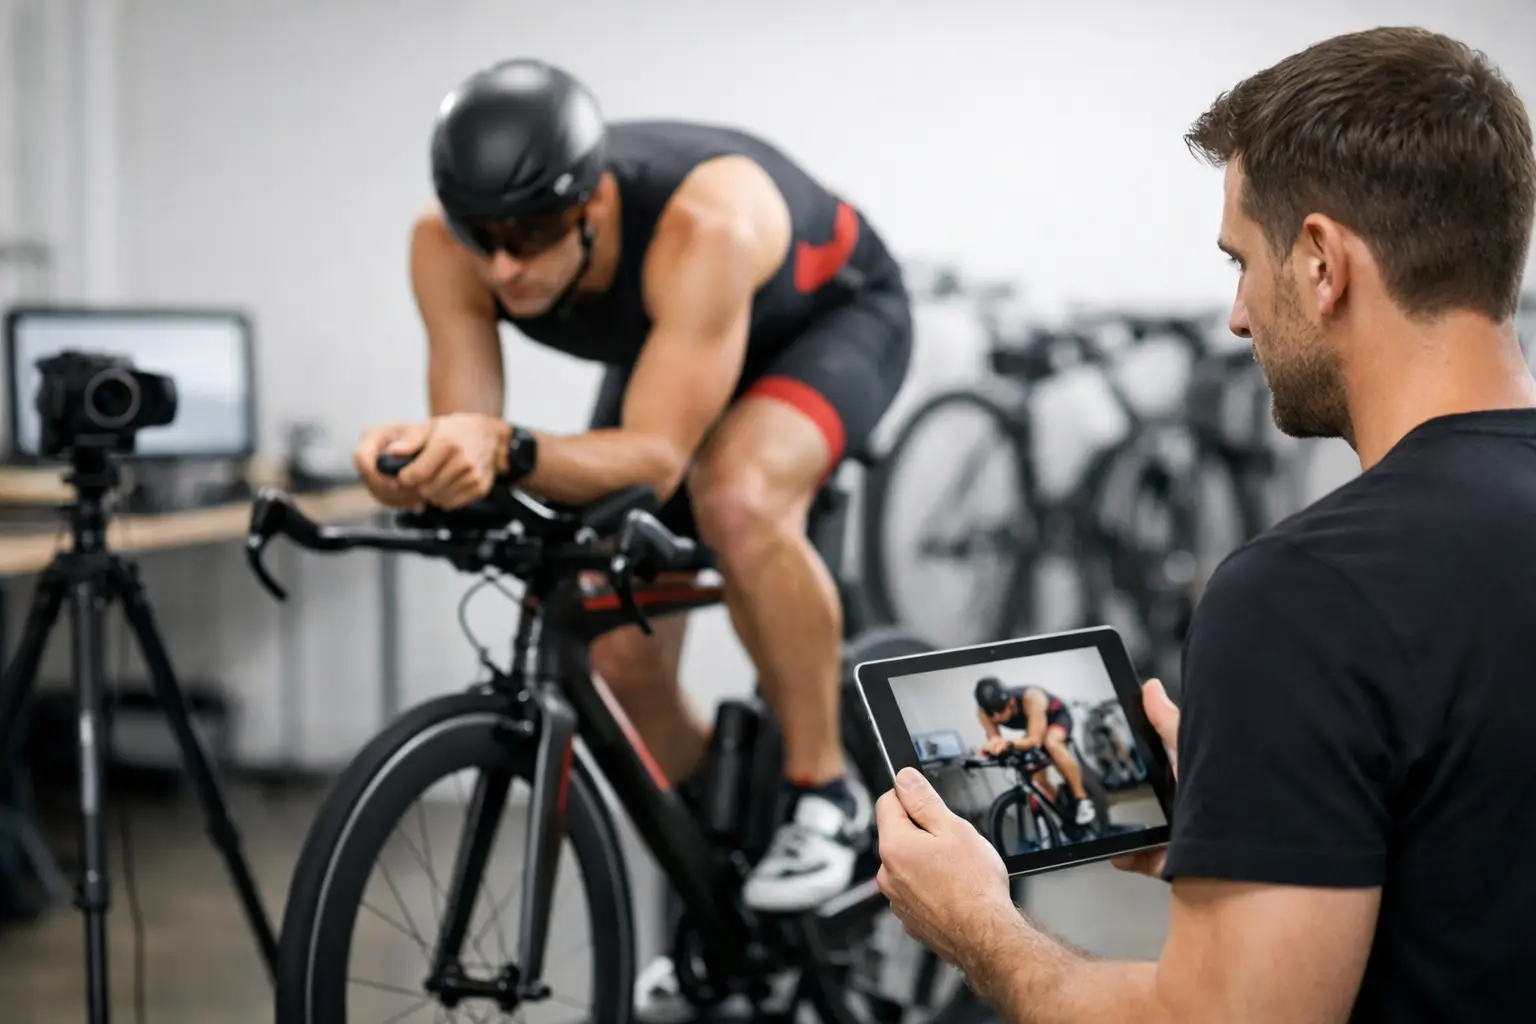
A good fitter can assess your current position on a fit bike, your existing tri bike or a carefully adapted road setup. They should look beyond static angles. Pedalling under sensible resistance reveals whether your hips rock, your knees track naturally, your shoulders tense up or your back begins to close down as effort rises.
Bring your current cycling shoes, pedals if practical, and the saddle you know best. Small differences in cleat position, shoe stack height and saddle shape can alter the numbers enough to affect which frames will work. If you have had persistent numbness, neck pain, saddle discomfort or hot spots in your feet, say so early. A new bike is an opportunity to solve a recurring issue, not carry it over.
Frame geometry is only the beginning
Once you have target measurements, compare them with the frame’s geometry and, crucially, its cockpit adjustment range. Stack and reach are useful reference points, but they do not tell the whole story on a tri bike. The pad stack and pad reach a bike can deliver are often more useful because they describe where your elbows can actually sit.
Integrated front ends can be exceptionally clean in the wind and visually impressive, but they vary greatly in adjustability. Some offer multiple pedestal heights, pad positions and extension options. Others are designed around a narrower fit window. Neither approach is automatically better. The right choice depends on whether its available settings cover your target coordinates with room to refine the position.
That room matters. Your initial fit is a highly informed starting point, not a position carved in stone. Training volume, mobility, injury rehabilitation and changing race priorities can all affect your preferred setup. A bike that reaches your numbers only at the absolute edge of its adjustment may leave little scope for sensible changes later.
Check the front-end hardware, not just the chart
Before committing, establish what is included with the bike and what can be changed. Ask about pad risers, arm cup width, extension shape, extension length and compatible stems or base bars where relevant. On some systems, a simple height adjustment is straightforward; on others, it requires specific proprietary parts.
This is especially important if you have long legs and a comparatively short torso, or the reverse. A conventional size recommendation may put you on a frame with the correct seat tube range but a front end that is too long or too low. It is far better to select the frame that supports your pad position cleanly than force the fit with an excessive tower of spacers or unusually short extensions.
The saddle position sets up everything else
Tri bike fit starts at the saddle. If the saddle is too high, too far back or tilted in a way that makes you brace against it, the front end can feel wrong no matter how much you adjust the pads. Riders often chase comfort at the handlebars when the real issue is further back.
A forward saddle position can help maintain a more open hip angle in aero, but it must still allow stable pressure through the pedals. Too far forward can overload the arms, make you slide onto the nose and create a tense upper body. Too far back may close the hip angle and make it difficult to settle between the pads.
Saddle choice is personal. Split-nose tri saddles work well for many riders because they support a rotated pelvic position, but width, shape and rail adjustment differ between models. Do not assume that the saddle supplied with a premium bike is automatically the one you should race on. It is a component worth testing and, where needed, changing.
Do not confuse low with aerodynamic
The temptation with a new tri bike is to create the most dramatic-looking position possible. Lower pads and a flatter back can reduce frontal area, but only while you can sustain the posture without losing power, shifting around or lifting your head excessively to see the road.
Your head position is particularly revealing. If your neck is strained and your gaze is forced too far forwards, you will move more, fatigue sooner and lose the very aero benefit you were chasing. The same applies when your elbows are so narrow that your shoulders cannot relax or your breathing feels restricted.
A practical aero position should feel controlled at race effort, not merely tolerable for a few minutes on a showroom setup. Test it with realistic power, ideally for long enough to expose pressure points and mobility limits. For long-course racing, consider how the position feels after eating and drinking, and whether you can handle crosswinds and rougher road surfaces without coming out of aero constantly.
Buying online still requires fit confidence
Buying a performance bike online gives you access to exceptional frames and race-ready specifications, but it makes accurate preparation even more valuable. Have your fit coordinates available before narrowing the options. Then compare those measurements against the manufacturer’s fit data and the bike’s real adjustment hardware.
Photographs and nominal size labels cannot replace this step. If you are between sizes, do not automatically size down for a racier appearance or size up for a more relaxed ride. The correct answer depends on the bike’s pad stack and reach range, saddle rail adjustment, crank length and the changes required to reach your fitted position.
At Trifit Bikes, the right purchase is the bike that gives you a fast position without unnecessary compromise. A higher-spec model is only better if it fits as intended. Frame compatibility comes first; wheel depth, drivetrain level and finishing kit can follow.
When a fit should happen after purchase as well
A pre-purchase fit gets the major decision right, but it should not be the final contact with your position. Once the bike is built, a follow-up setup check confirms that the real-world configuration matches the intended measurements. This is particularly useful where different saddles, crank lengths, aerobar extensions or shoe systems are involved.
Give yourself time before your first key race. Ride the position indoors and outdoors, starting with shorter aero efforts and building duration gradually. Make one meaningful change at a time, then assess comfort, power and control. Constantly moving every contact point at once makes it difficult to learn what is helping.
Your next tri bike should feel like a platform for your strongest riding, not a position you have to fight. Get the fit numbers first, choose the frame that can meet them with sensible adjustment, and give yourself enough time to make the position yours before race day.