A road frameset can look perfect on paper – low weight, clean cable routing, race-ready geometry and clearance for the tyres you want. But if the size is wrong, none of that potential reaches the road. Knowing how to size a road frameset means looking beyond the number on the seat tube and choosing a position you can hold when the pace rises.
For a performance road build, the right frame gives you a balanced starting point: efficient power transfer, confident handling and enough adjustment to refine your cockpit. The wrong one can leave you stretched, cramped or forced into a stack of spacers and an unusually short or long stem. That is not the result you want from a premium frameset.
Start with your current bike position
Your best sizing reference is usually the bike you already ride well. Before comparing new frames, record the key measurements from your current setup: saddle height, saddle setback, handlebar drop and the horizontal distance from saddle to bar. If you have a bike that feels comfortable on long rides and responsive during hard efforts, it provides more useful information than a generic height chart.
Measure from the centre of the bottom bracket to the top of the saddle along the seat tube line for saddle height. Then note the saddle-to-bar drop, measured vertically from the saddle top to the bar tops, plus the reach to the handlebar. These figures help identify whether the new frameset can recreate your position without extreme components.
Be honest about what works and what does not. A rider who feels excellent for two hours but gets neck tension at four may not need a different-sized frame. They may need a slightly higher bar position, a revised saddle choice or a more considered reach. Frame size should solve the large positional questions, not compensate for every detail.
How to size a road frameset using stack and reach
Frame labels such as 52, 54 or medium are only a rough guide. One brand’s 54 cm road frame may be notably taller, longer or more aggressive than another’s. Stack and reach are the measurements that make meaningful comparisons possible.
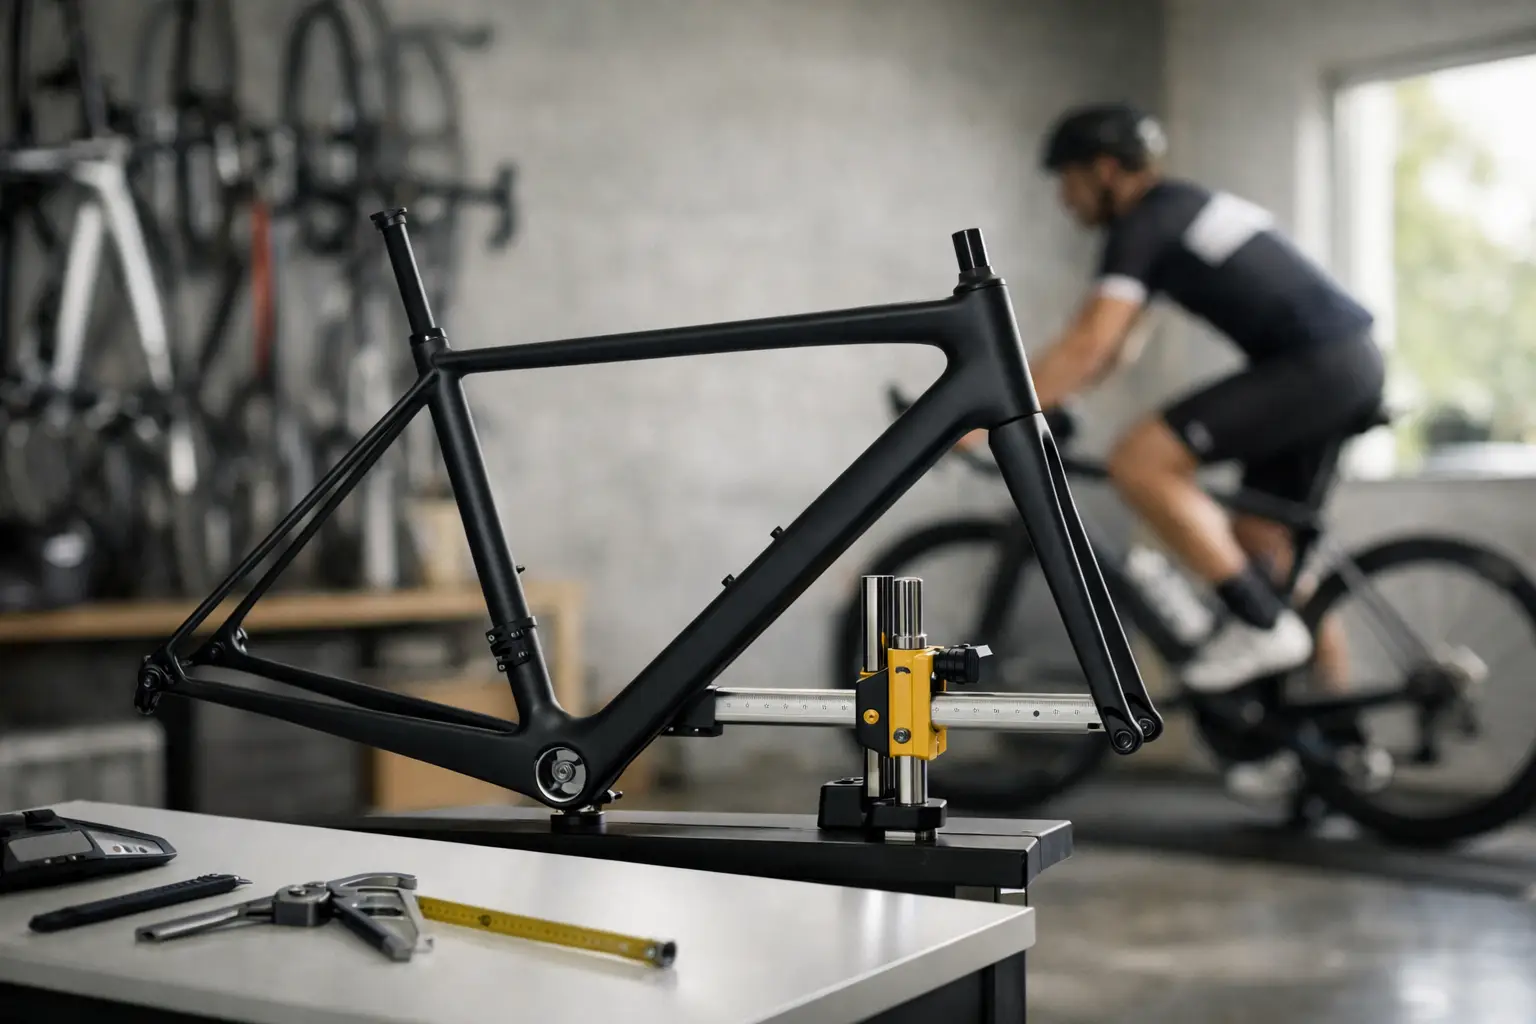
Stack is the vertical distance from the bottom bracket centre to the top of the head tube. A higher stack places the front end higher, making it easier to achieve a less aggressive position. A lower stack suits riders seeking a lower, more aerodynamic setup, provided they have the flexibility and conditioning to maintain it.
Reach is the horizontal distance from the bottom bracket centre to the top of the head tube. It gives a clearer picture of frame length than effective top-tube measurement, particularly when comparing modern frames with different seat-tube angles and cockpit designs. More reach creates a longer front-centre position; less reach creates a shorter one.
Compare the stack and reach of your current bike with the geometry chart of the frameset you are considering. Small changes can be manageable. A new frame with a few millimetres less stack can often be adjusted with spacers or a stem angle change. A large difference may force compromises that affect handling, appearance and comfort.
As a practical rule, do not choose a smaller frame simply because you want a low racing position. It is usually better to start with sufficient stack and fine-tune downward where appropriate than to select a frame that demands a tall spacer tower just to be rideable. Equally, do not buy a larger frame to gain bar height if it also adds excessive reach.
Use height and inseam as a starting point, not a verdict
Manufacturer size charts are valuable, especially when narrowing your choices. Your height and inseam place you within a sensible range, but they cannot account for torso length, arm length, hip mobility, riding history or preferred event type.
Two riders of the same height can require different sizes. One may have long legs and a short torso, benefiting from a relatively tall, shorter-reach frame. Another may have a longer torso and naturally prefer more reach. Flexibility matters too, but it should not be treated as a test of toughness. A low, long position that looks fast in a photograph is only fast if you can produce power and breathe freely while holding it.
If you sit between two frame sizes, look first at stack and reach, then at the adjustment available through the stem and spacer arrangement. The smaller option generally offers a lower front end and more scope to extend reach with a longer stem. The larger option offers more stack but can become difficult to shorten cleanly. There is no universal answer: choose the option that achieves your target position with normal component sizes.
For most road builds, a stem in the region of 90 to 120 mm is a useful sign that the frame is in the right area. There are exceptions, particularly for smaller riders or certain race geometries, but a 70 mm or 140 mm stem is worth questioning before you commit.
Check geometry beyond the cockpit
A frameset is not just a platform for your saddle and bars. Its geometry shapes how the bike responds through corners, on descents and under pressure in a fast group ride.
Look at head angle, fork trail, wheelbase and chainstay length alongside stack and reach. A race-focused road frame may have sharper steering and a shorter wheelbase for quick direction changes. An endurance-oriented design commonly offers a little more stability and a higher front end. Neither is automatically better. The right choice depends on your riding, whether that is criterium racing, long sportives, rolling club runs or mountainous training days.
Seat-tube angle also influences fit. A steeper effective angle moves the saddle position forwards relative to the bottom bracket, while a slacker angle can require more saddle rail adjustment to achieve your preferred setback. Check that your saddle can sit in the required position without being pushed to the end of its rails.
Tyre clearance deserves attention as well. A modern performance road frameset designed around 28 mm or 30 mm tyres can provide more grip, comfort and confidence on British roads without giving away meaningful speed. Confirm the stated clearance with the wheel and tyre combination you plan to use, as actual tyre width varies between rims.
Build around the frame, not against it
Once you have selected the right size, the build details finish the fit. Start with saddle height and fore-aft position, then establish bar height and reach. The saddle should support efficient pedalling rather than act as a way to shorten or lengthen the cockpit.
Handlebar shape changes the effective reach more than many riders expect. Compact bars with a shorter reach can make a cockpit feel noticeably more manageable, while a traditional deep bar can increase the stretch to the drops. Bar width should match your shoulders, riding preferences and aerodynamic goals rather than simply following the widest option available.
Integrated cockpits need extra care. They can look exceptionally clean and save weight, but often offer fewer easy changes after purchase. Check the available stem lengths, bar widths and spacer limits before ordering. A conventional bar and stem gives more adjustment during the fitting process, which may suit riders still refining their position.
Do not cut the steerer tube immediately. Ride the bike with a sensible spacer allowance first, particularly if you are moving to a more aggressive race frame. Once the position is proven across training rides, hard efforts and longer days in the saddle, you can make the setup permanent.
When a professional fit is worth it
For an expensive frameset build, a professional bike fit can be a strong investment. It is especially useful if you are changing categories, returning from injury, moving to a more aerodynamic position or replacing a bike that has never felt quite right.
A good fitter should not simply hand you a frame size. They should assess your movement, riding goals and current contact points, then translate that information into frame stack, reach and cockpit targets. Take those targets with you when comparing models, rather than relying on a single brand’s size recommendation.
At Trifit Bikes, the aim is to help serious riders choose a performance platform with confidence. Bring your current bike measurements, your preferred riding style and any fit concerns into the conversation before you order.
The right road frameset should disappear beneath you when the road gets difficult. You should be able to settle into the drops, drive through the pedals and focus on the next wheel ahead – not on finding a comfortable place for your hands.