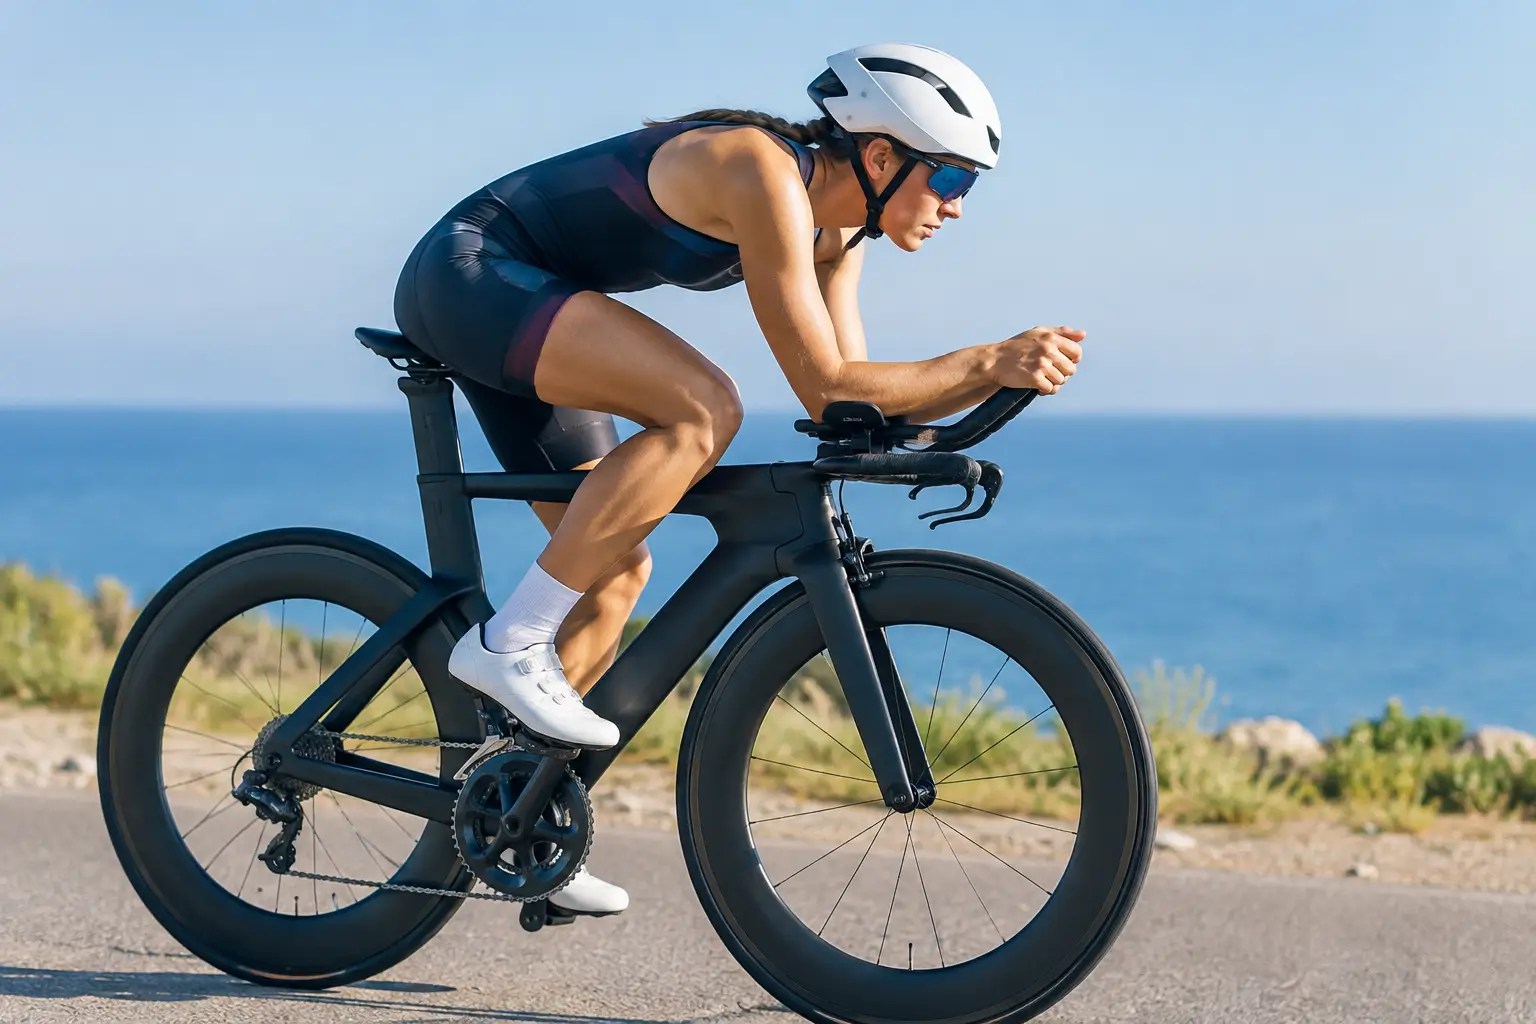
A triathlon bike can look fast in the showroom and still cost you time if the position does not suit your body, mobility and race goals. The best bike fit for triathlon bike racing is not the lowest front end or the most aggressive position you can briefly hold. It is the position that lets you stay aerodynamic, produce power and run well when you get off the bike.
That distinction matters. A road-bike fit is designed around frequent changes in hand position, climbing and group-riding control. A triathlon position has a narrower job: hold a stable, low-drag posture for a sustained effort while preserving your breathing, hips and legs for the run.
What a Fast Triathlon Position Really Delivers
A good triathlon fit balances four outcomes: aerodynamic efficiency, sustainable power, comfort and handling. If one is sacrificed too heavily, the position usually stops working when fatigue builds or the road becomes rough.
Aerodynamics matter because the wind is the main force slowing you down on flatter courses. Yet an extremely low position that closes your hip angle can restrict power and make it difficult to fuel, breathe deeply or remain still on the extensions. A rider who sits up every few minutes to relieve pressure gives away much of the theoretical aero advantage.
Your ideal setup should allow you to settle into the aerobars with relaxed shoulders, a controlled head position and enough room to rotate your hips forward. You should be able to drink, change gear and steer safely without feeling stretched, cramped or unstable. On race day, repeatability beats a position that only works for a short indoor test.
Start With the Frame, Not the Components
The right frame size is the foundation of the best bike fit for triathlon bike performance. Do not choose it solely by your road-bike size, overall height or a label such as small or medium. Triathlon frames vary significantly in stack and reach, and two bikes marked the same size may create very different cockpit positions.
Stack is the vertical distance from the bottom bracket to the top of the head tube. Reach is the horizontal distance. Together, they determine how low and long the front of the bike can be before you begin adding a tower of spacers, swapping stems or making compromises with the aerobars.
A taller rider is not automatically suited to a long, low frame. Flexibility, torso length, shoulder width, hip mobility and intended race distance all play a part. Equally, a compact rider may need more front-end height than conventional triathlon imagery suggests. The aim is to select a frame that reaches your target coordinates with sensible adjustment remaining in both directions.
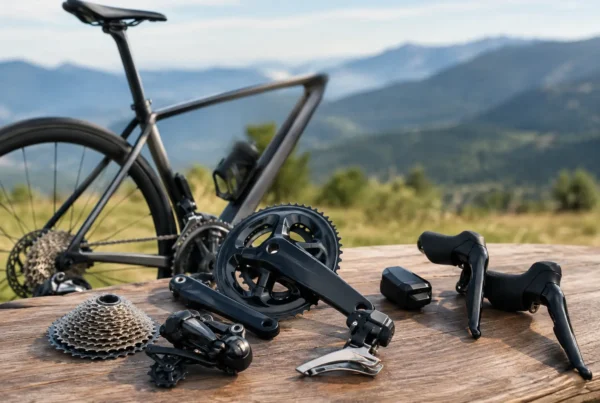
Modern triathlon bikes from brands such as Cervelo, Argon 18 and Canyon often provide a wide adjustment range, but integrated cockpits can have specific limits. Check the available pad stack, pad reach, extension length and armrest width before committing. A premium frame is only a premium purchase if it can be configured around you.
Why adjustability is worth paying for
A highly adjustable cockpit gives you room to refine your position as training volume increases, your mobility improves or your race priorities change. This is particularly valuable for first-time tri-bike buyers moving from a road bike, where the initial target should be sustainable adaptation rather than an extreme position.
It also protects the investment. A bike with suitable armrest and extension adjustment can evolve with you, while a visually tidy integrated front end with limited options may force expensive component changes later.
Set the Saddle Before Chasing a Low Front End
Saddle height and fore-aft position influence every part of the triathlon fit. They affect knee extension, hip angle, pressure distribution and how naturally you can rotate forwards onto the pads.
Start with a height that permits a smooth, powerful pedal stroke without rocking through the hips. Excessive saddle height often shows up as toe-pointing, side-to-side movement, hamstring tightness or chafing. Too low can reduce leverage and leave the front of the knee overloaded. A qualified fitter can assess this in motion rather than relying on a single static angle.
For triathlon, the saddle commonly sits further forward than on a road bike. Moving forwards opens the hip angle at the top of the pedal stroke when you are low on the extensions. That can make it easier to generate power in the aero position and may reduce the feeling that your knees are crowding your chest.
This is where a triathlon-specific saddle earns its place. Many riders prefer a shorter-nosed design with support at the front, because they spend more time rotated forward rather than perched at the rear of a conventional road saddle. The right shape is personal. Pressure relief, width and rail adjustment matter more than the badge on the cover.
Build the Aerobar Position Around Your Upper Body
Once the saddle is in a sensible position, set the arm pads and extensions to support your torso rather than forcing it into shape. Your elbows should rest securely on the pads, with your shoulders able to relax instead of shrugging towards your ears. If you are constantly pushing yourself backwards or hanging heavily from the extensions, the reach is unlikely to be right.
Pad reach determines how far forwards your elbows sit, while extension length determines where your hands fall. Shorter pad reach can make a position more compact and manageable, but too short can close the torso and restrict breathing. More reach can open the chest, but it may become difficult to hold your head and control the front wheel if you overextend.
Pad stack is equally significant. Lower is not inherently faster. A lower setup may reduce frontal area, but only if you can maintain it with a neutral enough neck, open hips and steady upper body. For many age-group athletes, raising the pads slightly produces a cleaner, more sustainable shape and a better split over the full bike leg.
Armrest width should support your shoulders without pinching them in. Narrow pads can reduce frontal area, though an overly narrow setup can strain the shoulders and make steering twitchy. Begin from a stable, comfortable base, then make small changes and test them properly outdoors or on a turbo.
Keep your head position honest
A rider can have an excellent torso shape but lose time by lifting their head into the wind. Your helmet, visor choice and neck mobility all influence this. The goal is not to stare at the front tyre. It is to look safely ahead with minimal neck tension and without repeatedly craning upwards.
If holding your head in position causes numb hands, trapped shoulders or a sore neck after an hour, treat it as fit feedback. Lowering the front end further is rarely the answer.
Fit for Your Race Distance and Course
A sprint triathlon position can be more assertive than an Ironman position because the time spent at threshold effort is shorter and the run demands are different. That does not mean every short-course athlete should ride as low as possible. It means your fit should match the duration you can realistically train and race in.
For longer events, comfort becomes an aerodynamic feature. You need space to eat, drink and move slightly while keeping your core position stable. A position that creates numbness after 90 minutes is not ready for five or six hours in the saddle.
Course profile matters too. A flat, sheltered time trial course rewards a controlled aero posture for long periods. A technical route with sharp turns, exposed roads or steep climbs may call for a setup that gives easier access to the base bar and predictable handling. The fastest bike is the one you can ride confidently through the whole course, not just along a straight section of tarmac.
Test Changes Like a Racer
Do not alter saddle height, pad stack, cleat position and extension reach all at once. You will not know which change improved the fit or caused the problem. Make one adjustment, ride it repeatedly, and pay attention to power, perceived effort, comfort and your ability to run afterwards.
Indoor sessions are useful for initial refinement, but road testing is essential. Road vibration, crosswinds, braking, fuelling and fatigue reveal issues that a static assessment cannot. Include race-pace efforts in the aerobars, then a short brick run. Tight hips, lower-back fatigue or a heavy-legged run may indicate that the position needs revisiting.
Cleat placement deserves attention as well. A slightly rearward cleat position can feel more stable for some triathletes and may reduce calf loading, particularly for athletes who run immediately after cycling. This is individual, so make measured changes rather than copying another rider’s setup.
When to Book Professional Fit Support
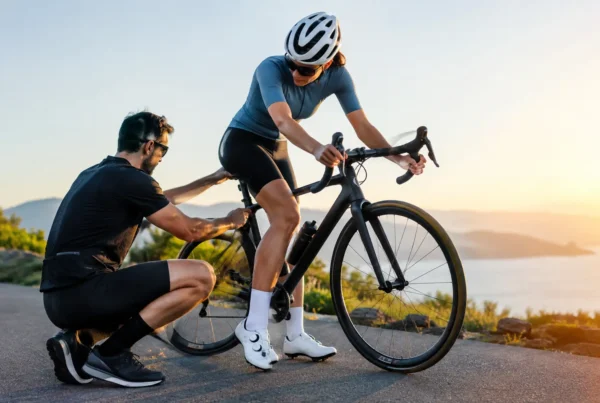
A professional fit is especially worthwhile before buying a high-value triathlon bike or frame. It can identify the frame stack and reach range that suits you, rather than asking a new bike to solve a sizing issue through improvised parts. At Trifit Bikes, fit-focused guidance helps serious riders approach that purchase with greater confidence.
Seek help if you experience persistent knee pain, numbness, saddle sores, neck pain or recurring lower-back discomfort. These symptoms are not badges of commitment. They are signals that contact points, cleats or posture need assessment. A fitter can also account for previous injuries, asymmetry and the demands of your chosen events.
Give your position enough time to become familiar, but do not confuse adaptation with suffering. The best triathlon fit should make you want to stay on the extensions when the race gets hard, confident that the bike is helping you save energy for the kilometres that matter most: the ones on foot.